How To Raise The Sprinkler Head? Elevate Your Lawn Care
An efficient sprinkler system must be maintained for healthy, flourishing grass. Regular maintenance is essential to keep your sprinklers in good condition. How to raise the sprinkler head? In this article, we will look at several straightforward but crucial habits.
Why Would You Need To Raise A Sprinkler Head?
Numerous benefits have raised a sprinkler head for maintaining the effectiveness of a lawn system. The first concern is the sinking or disappearance of sprinkler heads brought on by soil settling over time. Sprinkler risers can be used to raise these heads to the appropriate level. It guarantees thorough coverage.
Sprinkler risers are also essential for enhancing the effectiveness of the irrigation system as a whole. They enable the extension of sprinkler head height, enabling more effective watering and improved coverage in regions where the system’s main lines don’t directly link to the sprinkler heads. Risers bridge this gap. They are improving sprinkler head location by adding the necessary inches and providing protection from outside forces like lawnmowers.
Spray risers, including cut-off risers, are available in various sizes and shapes. It allows for a variety of spray head heights. Homeowners can modify these risers to improve the hydration of their grass and garden. They are made of materials like plastic or PVC. Homeowners may improve the functionality and adaptability of their sprinkler systems, resulting in a well-kept and evenly watered landscape, by considering the advantages of sprinkler risers.
How Do You Identify The Sprinkler Head That Needs Raising?
There is a method for identifying the sprinkler head that has to be raised.
- Assessment- Determine the necessary height modification. Carefully dig a 6- to 8-inch radius around the sprinkler to allow for movement with a hand shovel.
- Valve check- Verify that none of the valves are partially closed because this could prevent the sprinkler system from operating as it should.
- Testing- Turn on a single, non-popping valve for testing. Stop the water supply and try to raise the riser on the sprinkler head manually.
- Water pressure- Watch for any noticeable drops in water pressure, as these could be signs that the sprinkler head is not popping up properly.
Following these instructions, you can correctly identify the sprinkler head that needs to be adjusted, ensuring adequate water distribution and avoiding problems caused by sinking or imperfectly working sprinkler heads.
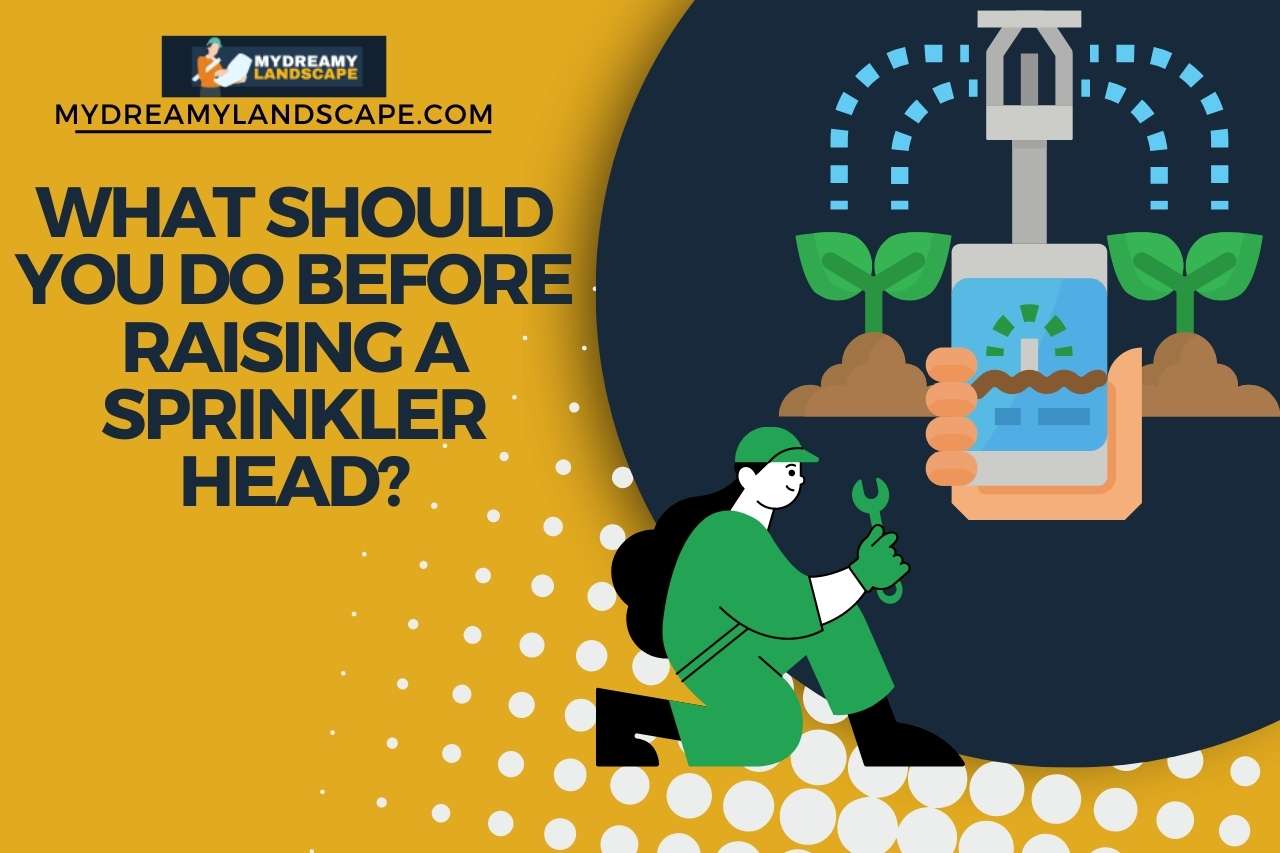
What Should You Do Before Raising A Sprinkler Head?
- Clear the area using a shovel and hand roller to remove the grass around the sprinkler.
- Determine the necessary adjustment for a level position with the ground by measuring height.
- If there is a flexible riser, lift the sprinkler head with your hands and screw it into the line. If not, replace it, attach it to the sprinkler head, and line it with a new riser.
- Replace the sod around the sprinkler by reinstalling it and pressing it down firmly to guarantee appropriate soil contact. This procedure guarantees efficient water distribution while maintaining the environment.
How To Raise The Sprinkler Head?
Do the following to raise a sprinkler head.
- Assessment and Digging- Calculate the necessary height adjustment. Then dig around the sprinkler with a hand shovel. Make a working hole that is 6 to 8 inches deep. Flip the grass onto the lawn by carefully lifting it around the sprinkler head.
- Cleaning up Be careful not to harm the sprinkler line when you use a tiny trowel to clean up the debris around the sprinkler head. Dig down deeply to remove the head’s screw.
- Flexible Riser or Cut-Off Riser- If the sprinkler head has a flexible riser, gently raise it with your hands until it is level with the ground. If it has a cut-off riser, do not do this. Use a cut-off riser to change the height of the riser is rigid. Make sure the cut is clean for a good connection.
- Riser Attachment- Tighten the riser by screwing it into the sprinkler head and the line. Verify that the head is upright and in the proper posture.
- Pack the Dirt- Use the removed dirt to fill the hole around the sprinkler head, making sure it is nearly level with the head and just slightly higher than it. Move the grass away from the sprinkler head.
- Maintenance- Regularly clean the area around the sprinkler head, significantly when the grass is growing or when debris accumulates, to avoid sinking in the future. It maintains the proper height and operation of sprinklers.
What To Do If You Are Unable To Raise The Sprinkler Head?
- Clean and check- Clean the sprinkler head and the plastic screen basket to remove any debris or blockages causing the issue.
- Press and pull- While the sprinkler is on, press the head down firmly using your foot, ensuring it goes all the way into the body. Then manually pull up the pop-up riser.
- Lubricate- If the previous step doesn’t work, try lubricating the sprinkler head with a spray lubricant. It may help loosen any internal components.
- Unscrew- Turn off the water and unscrew the sprinkler head from its housing if everything fails. This step may require additional tools and care.
How To Replace A Sprinkler Head?
- Clean and check- Clean the sprinkler head and the plastic screen basket to remove any debris or blockages causing the issue.
- Press and pull- While the sprinkler is on, press the head down firmly using your foot, ensuring it goes all the way into the body.
- Then manually pull up the pop-up riser.
- Lubricate- If the previous step doesn’t work, try lubricating the sprinkler head with a spray lubricant.
- It may help loosen any internal components.
- Unscrew- Turn off the water and unscrew the sprinkler head from its housing if everything fails.
This step may require additional tools and care.
How Much Does It Cost To Replace The Sprinkler Head?
The cost of replacing sprinkler heads depends on whether you hire a professional or do it yourself. Professional repairs range from $65 to $90 per head, while DIY replacements cost between $2 and $12. If you are replacing all heads in the system, it may cost around $375 to $425. Labor, head type, and system complexity can influence the final cost. Considering these factors and obtaining estimates to budget accurately for your specific situation is essential.
Here’s An Interesting Video To Watch,
VIDEO CREDITS: Connor Ward YouTube Channel
Continue Exploring: More Articles to Keep You Engaged
Can You Pour Concrete Over The Grass?